Me Geeky

Sharing Technology with You
Menu
  • Android
    • Gadgets
    • Android News
  • Apple
    • Activation Bypass
    • Cydia Tweaks And Apps
    • Quick Fixes
    • Download IPSW
  • Downloads
    • Custom Roms
    • Mods & Tweaks
    • Stock Roms
  • Reviews
    • Nokia
    • QMobile
    • Samsung
    • App Reviews
    • Apple Reviews
    • Others
  • Tips & Tricks
  • How to
  • Linux
Home
How to
How to install WordPress in Vesta Control Panel
How to

How to install WordPress in Vesta Control Panel

Muhammad Hashim

Recently I wrote a step by step guide for How to install Vesta Control Panel in CentOS 6 and How to do basic setup and add a website/domain in Vesta Control Panel. Now I am going to guide you how to install WordPress on VPS with Vesta Control Panel. This guide is very easy and short. I personally like Vesta Panel because of its simplicity and snappiness. Although it lacks some of the main features like File Manager, but it is a Good alternative to CPanel.

The VPS I am using is running CentOS 6.5 (64-bit) if you are curious. but it should work on all Linux distributions supported by Vesta Control Panel which are CentOS and Debian.

Installing WordPress in Vesta Control Panel

  1. Login to you VPS using SSH/Putty as ‘root’.
    How to install WordPress in Vesta Control Panel
  2. Install nano installer by executing the following command, If you already have nano editor installed, Skip to next step.
    yum -y install nano
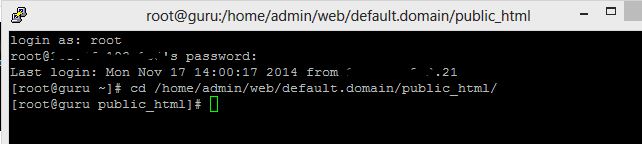
  3. Navigate to public_html folder of the domain in which you want to install wordpress. If you haven’t added any domain yet, here is a guide stating how to add a domain in Vesta Control Panel. The public_html folder is in the following directory
    /home/UserName/web/YourDomain/public_html/
    Change the “UserName” with your username of Vesta Panel and “YourDomain” with the domain you on which you want wordpress

    cd /home/admin/web/megeeky.com/public_html/

    How to install WordPress in Vesta Control Panel

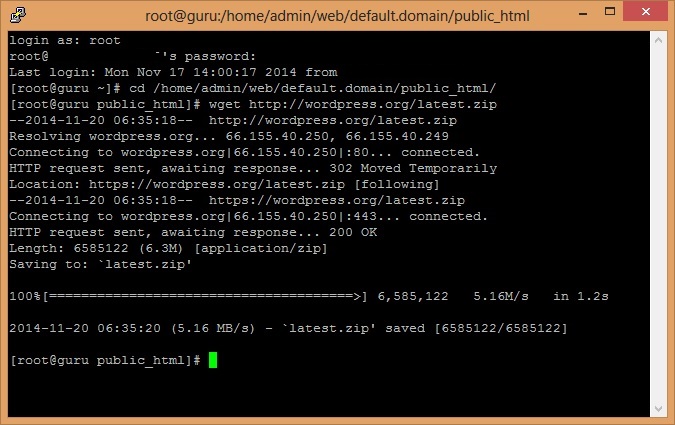
  4. If everything goes well you’ll be there in public_html folder, Just execute the following command and this will download the latest version of WordPress in zip file.
    wget http://wordpress.org/latest.zip

    How to install WordPress in Vesta Control Panel

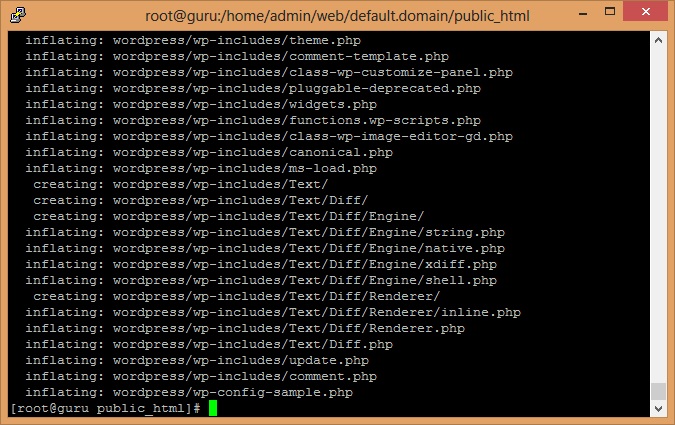
  5. Now just unzip the latest.zip file by executing the following command
    unzip latest.zip

    How-to-install-WordPress-in-Vesta-Control-Panel

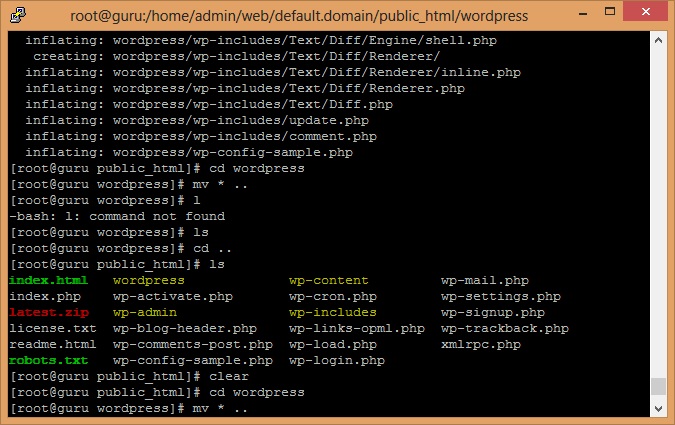
  6. After executing the above command, all WordPress files should be extracted in a wordpress folder in public_html. Execute the following 2 commands to move all wordpress files in public_html
    cd wordpress
    mv * ..

    How to install WordPress in Vesta Control Panel22

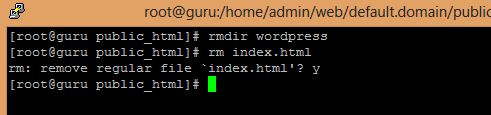
  7. This step is optional, after moving all files from wordpress folder, there would be an empty folder named as “wordpress”. you can leave this foder or remove this by executing the following command.
    rmdir wordpress
  8. Vesta Control panel itself adds a index.html file in public_html folder of every new domain, It is recommended that you remove that index.html file by executing the following command
    rm index.html

    How to install WordPress in Vesta Control Panel22

  9. Now you have to edit wp-config.php file. I am assuming you have installed nano editor so I am using this command
    mv wp-config-sample.php wp-config.php
    nano wp-config.php

    How to install WordPress in Vesta Control Panel22

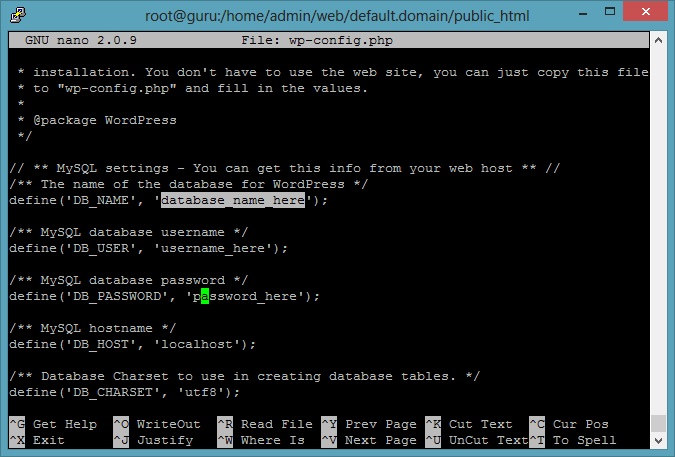
  10. Replace database_name_here with your actual database name, username_here with your database username, password_here with password of your database username
    After that press ctrl+o and Exit the editor by pressing Ctrl+x.
  11. Open your web browser and visit your the domain name and you’ll be greeted by the the basic setup screen of WordPress.
    How to install WordPress in Vesta Control Panel22
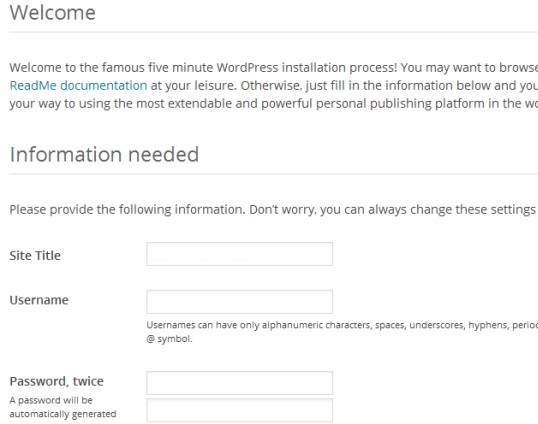
  12. Once done filling the form, You’ll have wordpress install on a VPS running Vesta Control Panel.
Share
Tweet
Google+
Pinterest
Stumble
Prev Article
Next Article

Related Articles

Install iOS 9 Beta 1 Without UDID Errors
At the Apple’s World Wide Developers Conference ( WWDC 2015 …

Install iOS 9 Beta 1 Without UDID Errors | Easiest Way to install iOS 9 Beta 1 – MGeeky

AppCake
AppCake is one of the most downloaded Cydia App or …

AppCake Updated for iOS 8.3 | Working 100%

About The Author

Muhammad Hashim

Leave a Reply

Cancel reply

Pages

  • About us
  • Contact us
  • Download IPSW
  • FB Policy
  • Sitemap

Me Geeky

Sharing Technology with You
Copyright © 2023 Me Geeky
Theme by MyThemeShop.com
This website uses cookies to improve your experience. We'll assume you're ok with this, but you can opt-out if you wish.Accept Read More
Privacy & Cookies Policy

Privacy Overview

This website uses cookies to improve your experience while you navigate through the website. Out of these, the cookies that are categorized as necessary are stored on your browser as they are essential for the working of basic functionalities of the website. We also use third-party cookies that help us analyze and understand how you use this website. These cookies will be stored in your browser only with your consent. You also have the option to opt-out of these cookies. But opting out of some of these cookies may affect your browsing experience.
Necessary
Always Enabled

Necessary cookies are absolutely essential for the website to function properly. This category only includes cookies that ensures basic functionalities and security features of the website. These cookies do not store any personal information.

Non-necessary

Any cookies that may not be particularly necessary for the website to function and is used specifically to collect user personal data via analytics, ads, other embedded contents are termed as non-necessary cookies. It is mandatory to procure user consent prior to running these cookies on your website.

SAVE & ACCEPT