Recently we learned how we can Install Vesta CP on a VPS without any problem. If you have missed it, Here is a guide on How to install Vesta CP on a VPS. Now I am gonna tell you how you can do basic setup of VestaCP and add a website in it.
How to access VestaCP installed on VPS?
Accessing VestaCP is very easy. you just have to visit your IP with https with a specific port as follows
https://123.456.789.123:8083
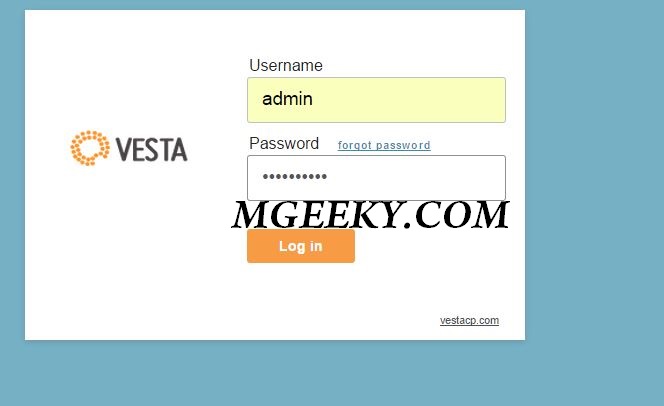
You’ll be greeted by Login page, Just login as admin.
Basic Setup
How to change password in Vesta CP?
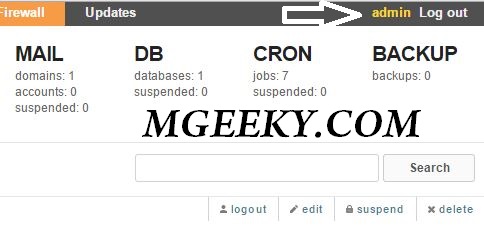
After doing login, First of all you should change the password of admin user and set a secure password which is easy to remember.
Click on “admin” in the top right corner and you’ll land on a page where you can change password of the user “admin”.
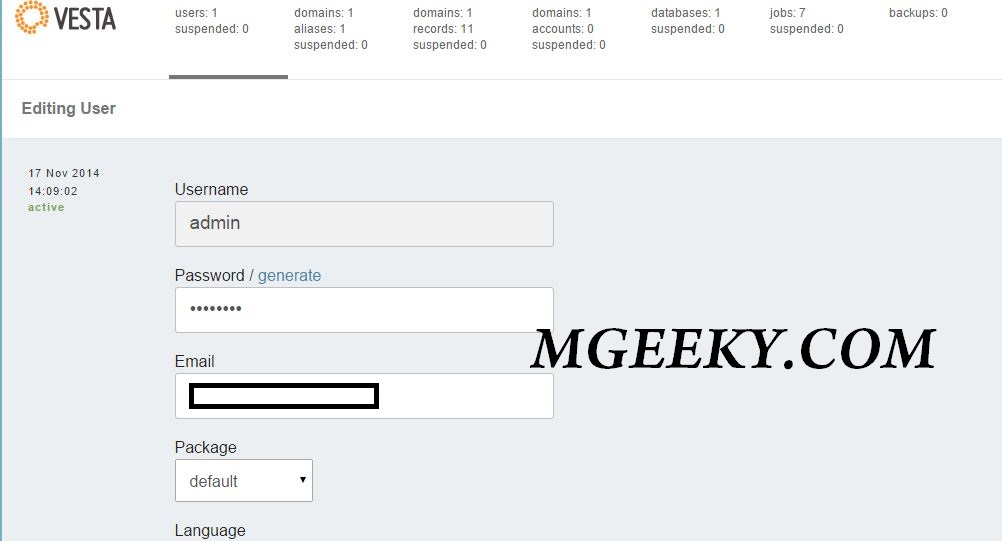
Now you’ll land on a page where you can edit the user. You can change password, E-Mail, Package, Language and all other settings of the user.
Click to enlarge
Setting Nameservers in VestaCP
If you scroll a bit down you’ll find the Default Name Servers area from where you can change default Nameservers for any user. Just change the default values with your main Name Servers.
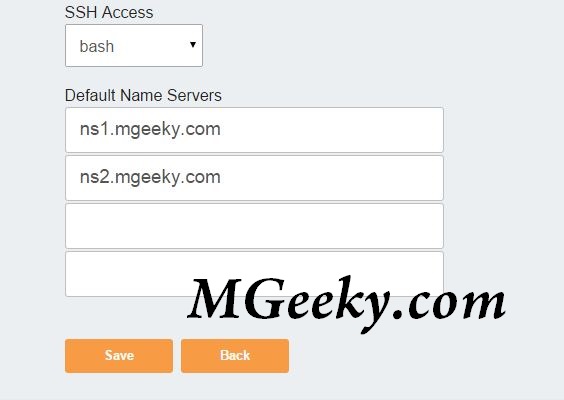
Click “Save” after changing the Values.
Adjusting Hosting Packages according to your needs
As you guys may already have noticed that Vesta CP is a featured pack multi-user Control panel, with a simple and snappy theme. There is a feature in it by using which you can add different Hosting plans aka Packages and allot them according to your users. You have to click on Packages from the top-left corner of the screen.
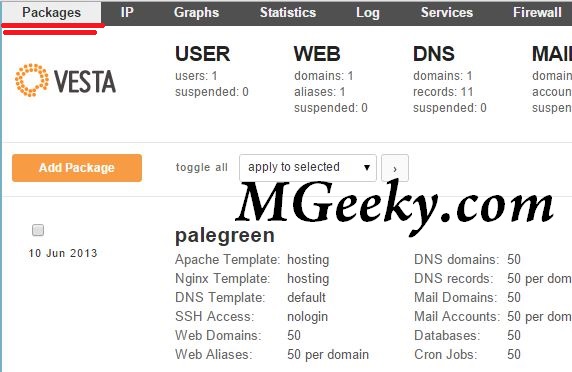
After that you can Click “Add Package” button to add packages. There are already some pre-configured Packages which you can edit or remove as you find convenient.
How to add a new website/Domain in VestaCP
Now I am going to show you how you can add a new domain in VestaCP. Follow the steps given below and you will not find any difficulty what so ever.
Click on “Web” tab and click on “Add New Domain”
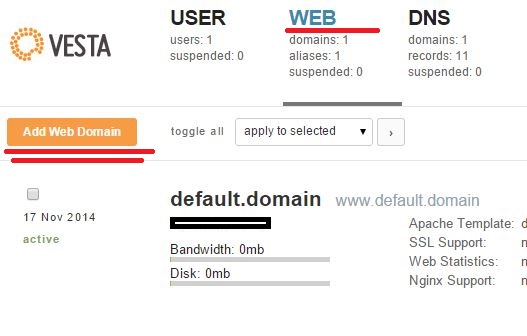
Now you’ll be greeted with a screen where you can add a domain name and select IP Address for that Domain Name. If you have only 1 IP Address with your VPS, You have to settle with that only IP Address.
Adding FTP Account
Last, but not the least, now I am going to show you how you can Add a new FTP Account if VestaCP. Click on “Web” tab and click “edit” button above the Domain you want to add ftp user for. Now click on the check box associated with “Additional FTP” add FTP User for that Domain.
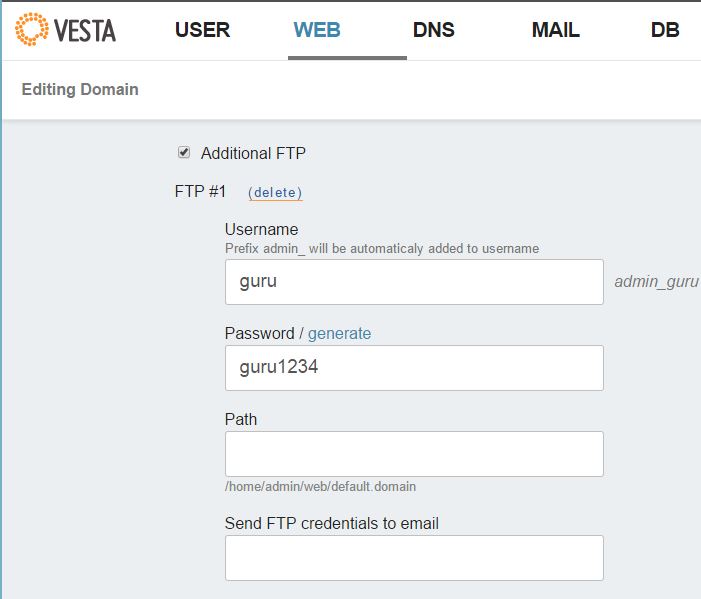
Click on Save and you’re good to go.
Share the post with others, if you find this helpful. Join us on Facebook and other social networks. Don’t forget to provide us with you feedback.
