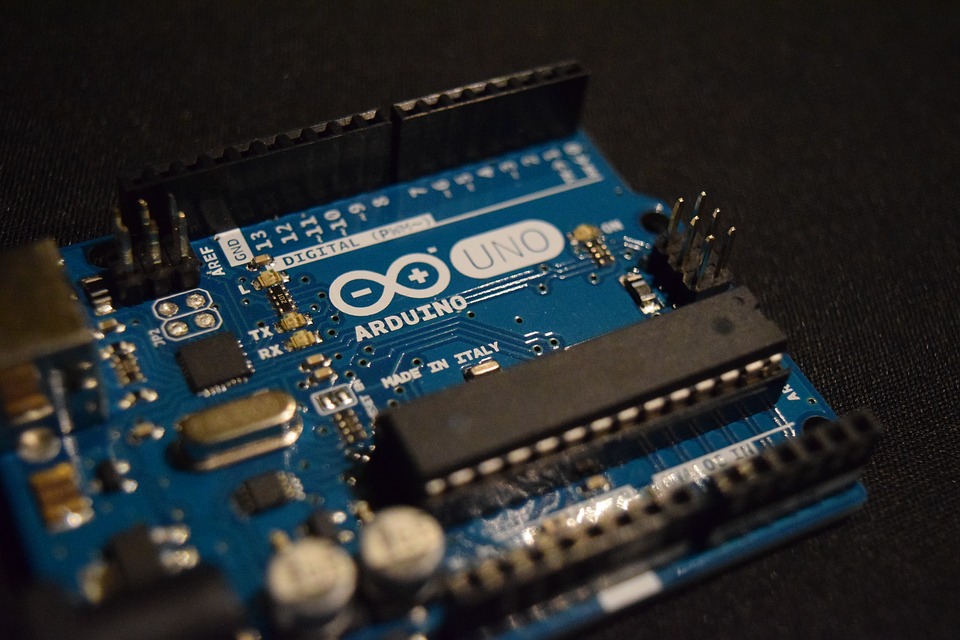
Arduino is powerful tool that is becoming more and more useful in the modern era. We can made a number of projects using Arduino. Arduino can be used for GUI purposes or the processing purposes. Using Arduino and other electronic devices we can made a number of projects. Basically Arduino is a microprocessor that accumulates with the time and it is also a controlling devices. It has a scripts code installed in it on which it works. It comes in different size that are UNO, NANO, MEGA etc. The difference between theses is the size of the RAM that is used for the memory purposes.
There are number of libraries are included in the Arduino are some libraries are need to be download and install. There are libraries such as IR remote, Robot IR remote, GSM, TFT, Bridge etc.
Today I am writing this article and i am gonna show you about Home Automation with Arduino using IR-remote and it is very easy. You just need to focus on the steps. Intentionally Home Automation mean to control the home Appliances using the simple infrared remote that is basically our TV. So Home Automation with Arduino using IR-remote can be done using this remote. Home Automation with Arduino can be done using the mobile Application but it is another matter we will discuss this today.
Things Required for Home Automation with Arduino using IR-remote :
- Arduino UNO or NANO
- Arduino Cable
- Remote
- Bread Board
- Connecting wires
- Transistor ( D313)
- Relay 12 V
- 12 V battery
- 230 V Bulb as load
- LED’s
Procedure for Home Automation with Arduino using IR-remote:
- First of all you need to connect the Arduino with the laptop and set the COM ( USB port)
Tools > Ports
- After setting the port you need to download the IRremote remote library from the Arduino data base that is important for Home Automation with Arduino using IR-remote.
Go to Sketch > Include library > Manage Libraries > Search > IRremote > Install
- You need to connect the infrared sensor that has three legs with the Arduino and its connections are shown in the diagram. The outermost pin of the sensor is the received pin that is connected with the Arduino according to the code. The middle pin is connected to the ground and the third pin to 5 V of Arduino.
- Take the remote and open Tools > Serial Monitor . Press the button on which you want your control e.g press button 2 and it displays a code on the serial monitor and you use this in your code e.g ( 0xBDO )
If you want another appliance to operate like LED then also initialize it in your code using the above method at another pin.
- Suppose that you have selected the D2 pin in your code for the output then connect the transistor and relays connection according to the diagram.
- LED can be operated simply.
Note: The Emitter of transistor and Arduino GND should be connected.
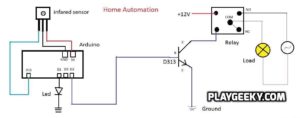
Diagram

Code
After making all the connection clearly and upload the code as defined above you are now able to do the Home Automation with Arduino using IR-remote and it is the simple and the best method and you can operate any appliance you want. The LED here used is for testing.
Thank you for your reading and you are free to comment.