Since the launch of android lollypop everyone want to feel the and experience the material design but unfortunately some can’t get it. Some experienced developers make custom ROM’s based on stock firmwares but themed like android 5.0 lollypop. Still some less experienced devs and beginners can’t make their android themed like lollypop as there is no guide available. So we are today going to guide you how to make the android background material same like lollypop.
Requirements:
- APK Studio – Download Link
- A Active brain
- Latest java installed
- Notepad ++ – Download Link
- Framework-res.apk
- dbackground.png
Steps:
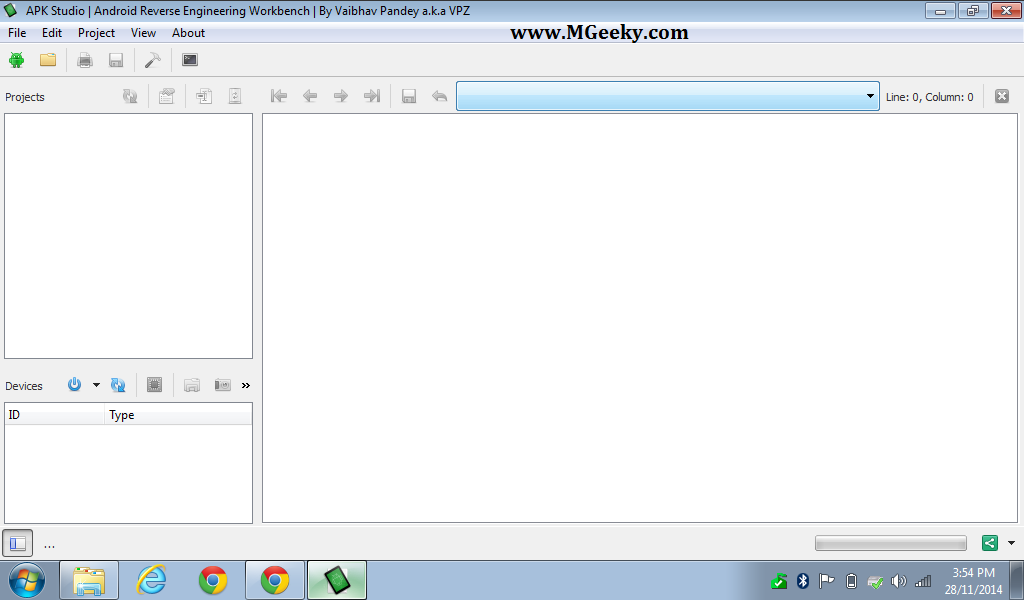
- Download and install APK studio on your pc.
- Now open it
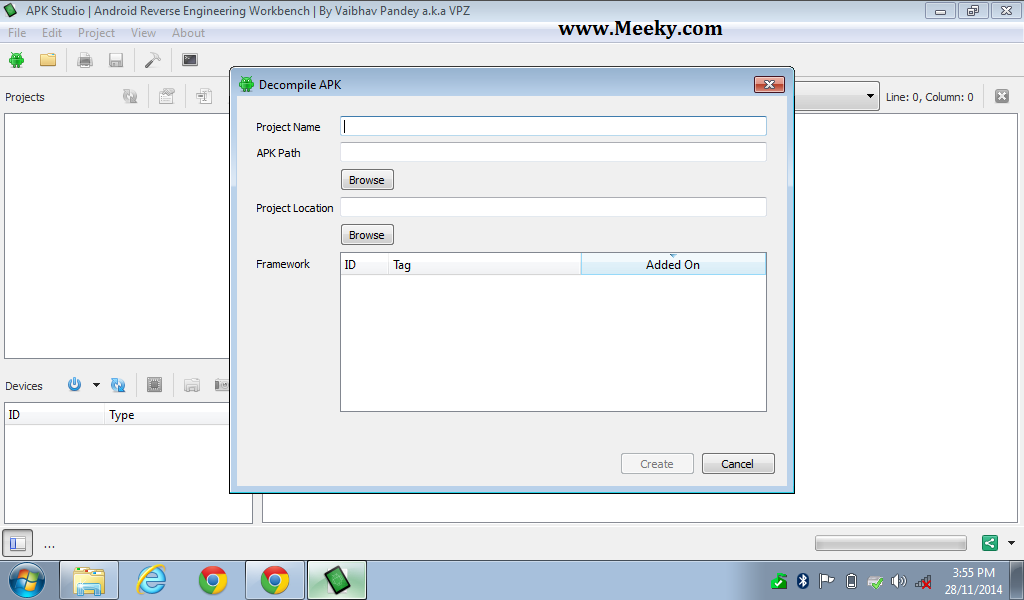
- Now select the decompile option by clicking on green Android icon on top left. Now below window will appear
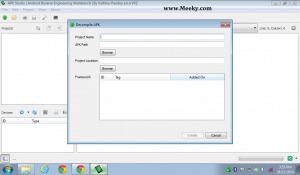
- Now give your project a name, select the framework-res.apk and select a location where you want the compiled apk folder appear. After selecting the respective things just click on create.
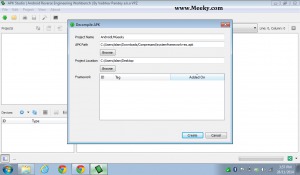
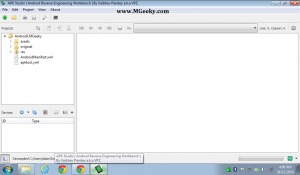
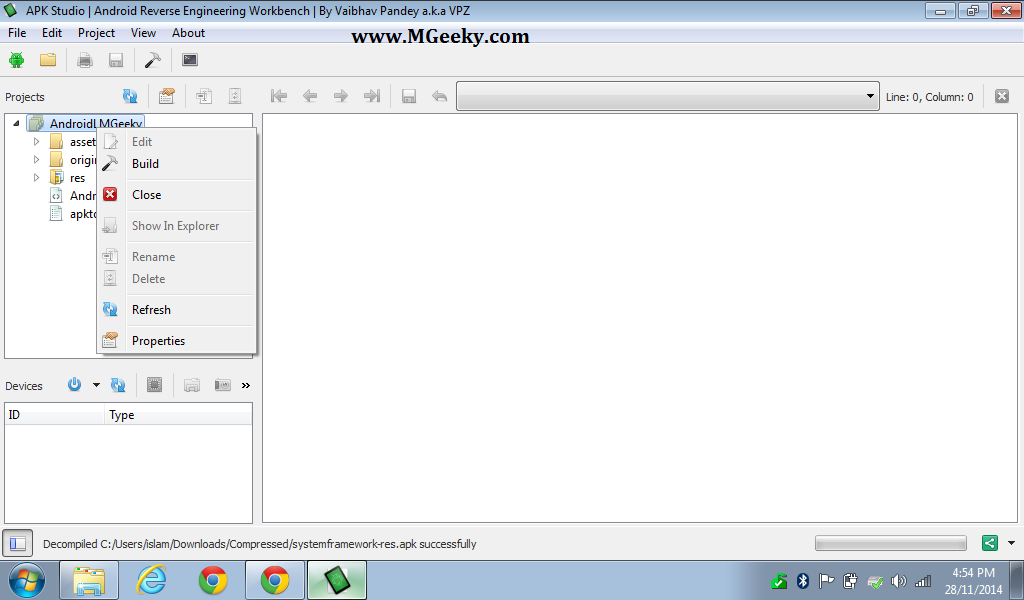
- Now it will take some to decompile the APK, after decompiling it will show your project in left bar.
- Now just go to the decompiled apk folder and locate to res/values and open styles.xml file there with notepad++.
- Now find <style name=”Theme”>
- Now search the line
<item name="colorBackground">@color/background_dark</item>
and erase the ‘background_dark’ & type ‘transparent’ instead of it. It will now look like this:
<item name=”colorBackground”>@color/transparent</item> - Now replace the line <item name=”windowBackground”>@drawable/screen_background_dark</item> with following line: <item name=”windowBackground”>@drawable/dbackground</item>
- Search for <style name=”Theme.Black” parent=”@style/Theme”>
- Change from <item name=”colorBackground”>@color/black</item> to <item name=”colorBackground”>@color/transparent</item>
- And from <item name=”windowBackground”>@color/black</item> to <item name=”windowBackground”>@drawable/dbackground</item>
- Now download the file “dbackground.png” from above requirements section.
- Copy dbackground.png to your decompiled APK’s /res/drawable-HDPI & /res/drawable-nodpi folders.
*Note that we have provided the png file only for devices having resolutions 1280×720 and qHD. For older devices having low res make your own png of grey shade i.e, for mdpi make 320×480 png file.* - Now after editing its time compile the APK again and for doing that again restore the APK Studio window and right click on project folder name in left bar and choose build option to build apk.
- If you have done everything correctly then your APK will get compile and in order to get your new edited framework-res.apk file labelled as Rebuilt.apk just rename it to framework-res.apk and push through adb or make a flashable file of it.


Credits:
- Daniyal Sheikh For Guide – MGeeky
- Vaibhav Pandey for APK Studio Tool
- Forum.Xda-developers.com
- Shael Iqbal – Team MGeeky
If you followed above guide and somehow you got some errors, we are here to help you just comment below and you will be answered. Share this guide on social media by hitting the social share buttons below.

